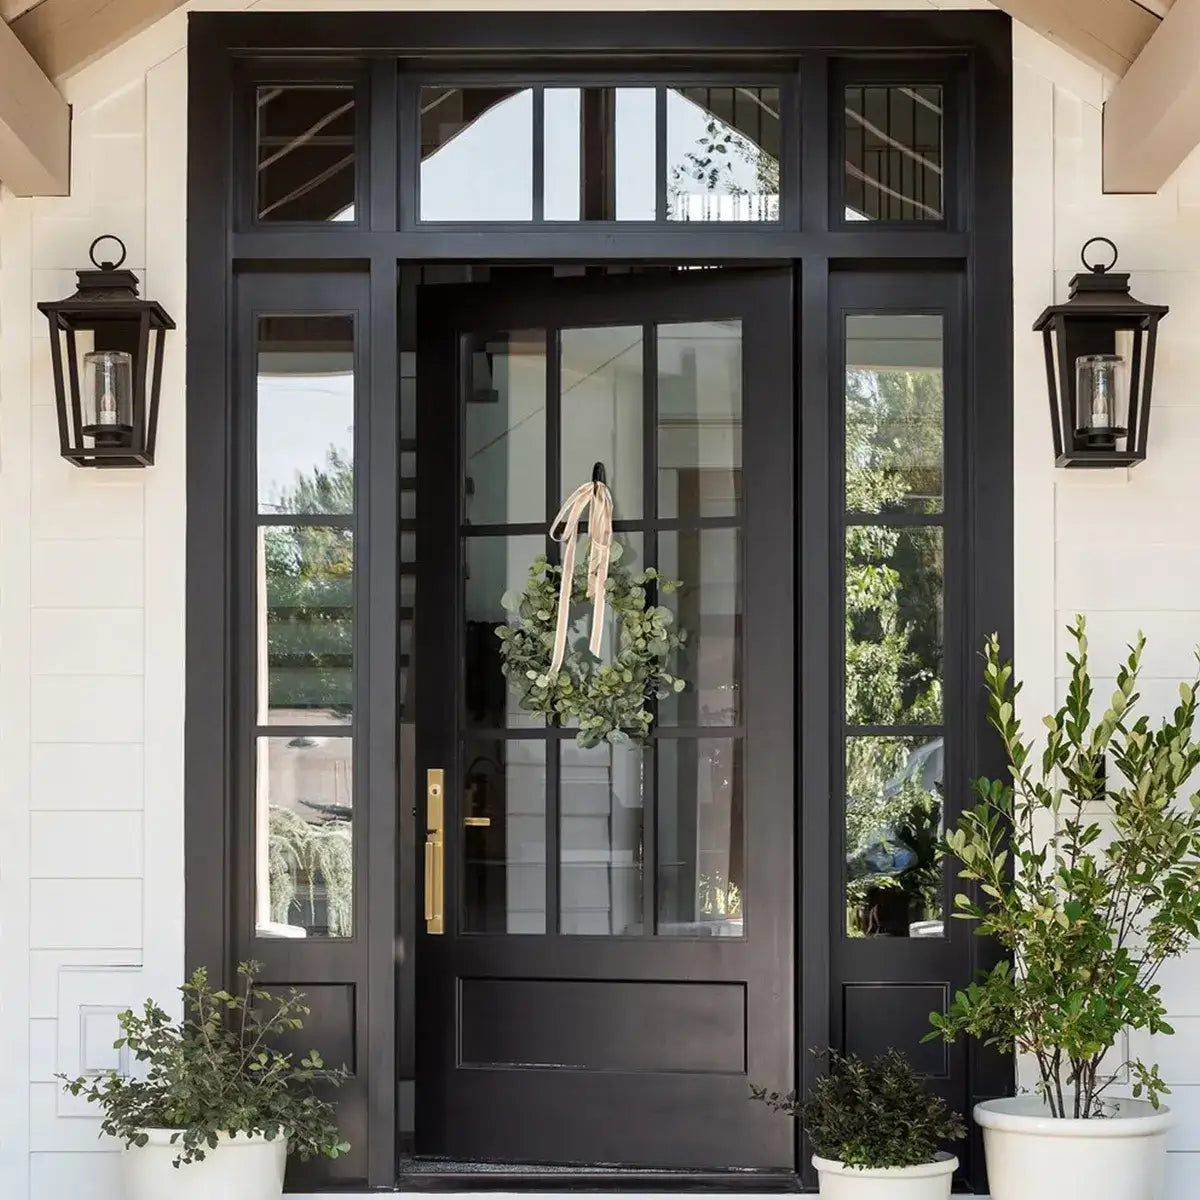
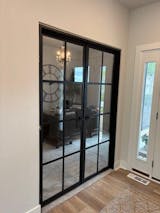
How to Perfectly Install an ARTISAN Pivot Door?
Installing a pivot door may seem like a daunting task, but with the right instructions, it can be a straightforward process. Pivot doors are renowned for their sleek design and functionality, and proper installation ensures they operate seamlessly. Let’s break down the installation process step by step to help you achieve a flawless result.
Step 1: Prepare all the necessary items for installation.
Before installing a pivot door, make sure you have all the necessary components on hand. Typically, when you purchase a pivot door, you will receive the following items:
- Door Panel: The pre-hung panel designed to fit perfectly with the door frame.
- Pre-hung Door Frame: A fully processed frame that is ready for installation.
- Pivot Hinge: Pre-installed at the top of the door frame.
- Pivot Mechanism: Pre-installed at the bottom of the door frame.
Step 2: Install the Door Frame into the rough opening.
Carefully place the pre-hung door frame into the rough opening, ensuring it is positioned correctly. Use screws to secure the mounting tabs on the frame to the wall. Use a level during this process to ensure the frame is perfectly vertical, as proper alignment is essential for the pivot door’s smooth operation.
Step 3: Lean and Align the Door Panel with the Frame
Lean the door panel at a 30° angle to improve visibility and control during installation. Carefully align the pivot with the pre-drilled hole at the bottom of the panel. Once aligned, place the panel on top of the pivot mechanism.
Be sure to verify that the pivot axis is perfectly perpendicular to the frame. This alignment is crucial for ensuring smooth door movement and preventing any operational issues.

Tip:
Since the panel has weather sweeps on both the top and bottom, precise alignment with the drilled holes might feel tricky. Using chalk to mark the alignment points can make the installation process significantly easier.
When fastening the screws, there’s no need to fully tighten them. This method allows for further adjustments and a final alignment check after completing all steps, ensuring everything is perfectly level before securing them completely.
Step 4: Secure the Pivot Pin
After positioning the panel, rotate the screw on the top pivot hinge to insert the pin into the top of the door panel. This step locks the panel into place and ensures stability. Double-check that the pin is securely fastened to avoid any operational hiccups later.

Step 5: Test the Door Movement
Once the panel is securely installed, test the door’s movement. Gently swing the door to ensure it rotates smoothly around the pivot. If you notice any resistance or misalignment, make minor adjustments to the pivot mechanism until the door operates without any binding.
Step 6: Final Checks
After completing all the above steps, double-check that the door is level and properly aligned. Once everything is confirmed to be in place, proceed to tighten each screw one by one, securely anchoring the frame to the wall and completing the installation with precision.
By following these steps, you'll ensure a seamless installation of your new pivot door, transforming your home with a stunning upgrade. Remember, careful attention to detail during installation is key to achieving both exceptional functionality and unmatched aesthetics. If you have any questions or need assistance, feel free to reach out to us. ARTISAN is always here for you.


